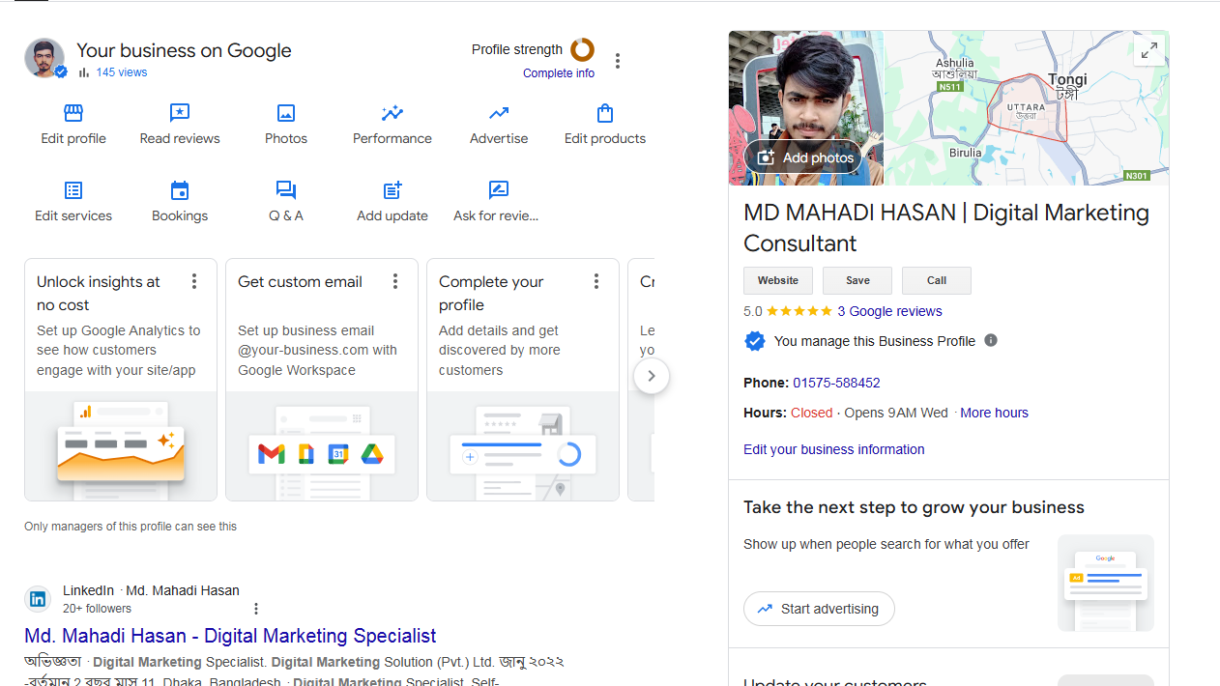
If you’re a business owner looking to attract more customers online, setting up a Google Business Profile is one of the most important steps you can take. A Google Business Profile (formerly known as Google My Business) helps your business appear on Google Search and Google Maps, making it easier for potential customers to find and contact you.
In this guide, I’ll walk you through the process of creating and optimizing your Google Business Profile so you can start reaping the benefits of online visibility right away.
Step 1: Sign In to Google
Before you can create a Google Business Profile, you’ll need a Google account. If you don’t have one, you can create one for free at accounts.google.com.
Once you’ve signed in to your Google account, go to the Google Business Profile page:
- Visit Google Business Profile.
- Click on Manage Now to get started.
Step 2: Enter Your Business Name
The first step in the process is adding your business name. Make sure it matches your business’s name exactly as it appears in the real world (e.g., on your storefront or official website). Consistency is key for search engine optimization (SEO), so avoid using extra keywords or terms that aren’t part of your business’s official name.
Step 3: Choose Your Business Category
Google will ask you to select a category for your business. This helps Google understand what your business is about and match it to relevant searches.
- Choose the category that most closely represents your business.
- If you don’t find an exact match, select the closest option and refine your listing with additional details later.
Tip: Pick the most specific category possible. For example, if you own a coffee shop, choose “Coffee Shop” over “Restaurant” to ensure you’re targeting the right audience.
Step 4: Add Your Business Location
Next, you’ll be asked whether your business has a physical location that customers can visit. If you have a storefront or office, select Yes and enter your business address. This allows your business to appear on Google Maps.
If you don’t have a physical location but provide services or deliver products to customers (e.g., a plumber or freelance consultant), select No and specify the areas you serve.
Step 5: Add Contact Information
Now, it’s time to add the contact details for your business:
- Phone number: Enter the phone number where customers can reach you.
- Website: If you have a website, enter the URL here. If you don’t have a website yet, you can create one for free using Google’s website builder, which can be a great option for small businesses.
Step 6: Verify Your Business
Google requires you to verify your business before your profile can go live. There are a few different ways to verify your business:
- Postcard by Mail: Google will send a postcard with a verification code to the business address you provided. This can take a few days to arrive.
- Phone or Email: Some businesses may be eligible for verification by phone or email. If this option is available to you, you’ll receive a code to enter immediately.
Once you receive your verification code, enter it on the Google Business Profile dashboard to complete the verification process.
Step 7: Optimize Your Google Business Profile
After your business is verified, you can start optimizing your profile to attract more customers. Here’s what you should do next:
- Add Business Hours: Make sure to include accurate business hours so customers know when they can reach you or visit your location.
- Write a Compelling Business Description: In the “Business Information” section, write a short, clear description of what your business does. Highlight your unique selling points and what makes your business stand out.
- Upload Photos: Add high-quality photos that showcase your business, products, services, or storefront. Photos help make your profile more appealing and can increase engagement with potential customers.
- Logo: Upload your company’s logo for brand consistency.
- Cover Photo: Choose a cover photo that represents your business well.
- Additional Photos: Add images of your products, your team, or your workspace to give users a behind-the-scenes look.
- Add Products or Services: If applicable, list your products or services so customers can easily see what you offer. This can help drive interest and increase conversions.
- Collect Reviews: Encourage your satisfied customers to leave reviews. Positive reviews are essential for building trust and attracting new customers. You can respond to reviews to engage with customers and show that you care about their feedback.
Step 8: Monitor Insights and Update Your Profile Regularly
Once your Google Business Profile is live, you’ll be able to access Google Business Insights, which provide valuable data on how customers are finding and interacting with your profile. Insights can help you track metrics like:
- How many people are calling your business
- How many people are requesting directions to your location
- How many people are visiting your website
Based on these insights, you can optimize your profile further and make adjustments to your business hours, services, or other details as needed.
Tips for Maintaining a Successful Google Business Profile:
- Update Regularly: Keep your profile current with any changes to your hours, services, or promotions.
- Post Updates: Use the “Posts” feature to share news, special offers, or events with your customers directly on your Google profile.
- Engage with Customers: Respond to reviews and messages to build rapport with customers and improve customer service.
- Monitor Analytics: Review your performance in Google Business Insights and adjust your strategies accordingly.
Conclusion
Creating and optimizing your Google Business Profile is a simple yet powerful way to improve your online presence and help potential customers find your business. By following the steps above, you can ensure that your business appears in local searches and provides all the information customers need to contact and visit you.
Start setting up your Google Business Profile today and watch your online visibility—and your business—grow!
